What Is XYZ?
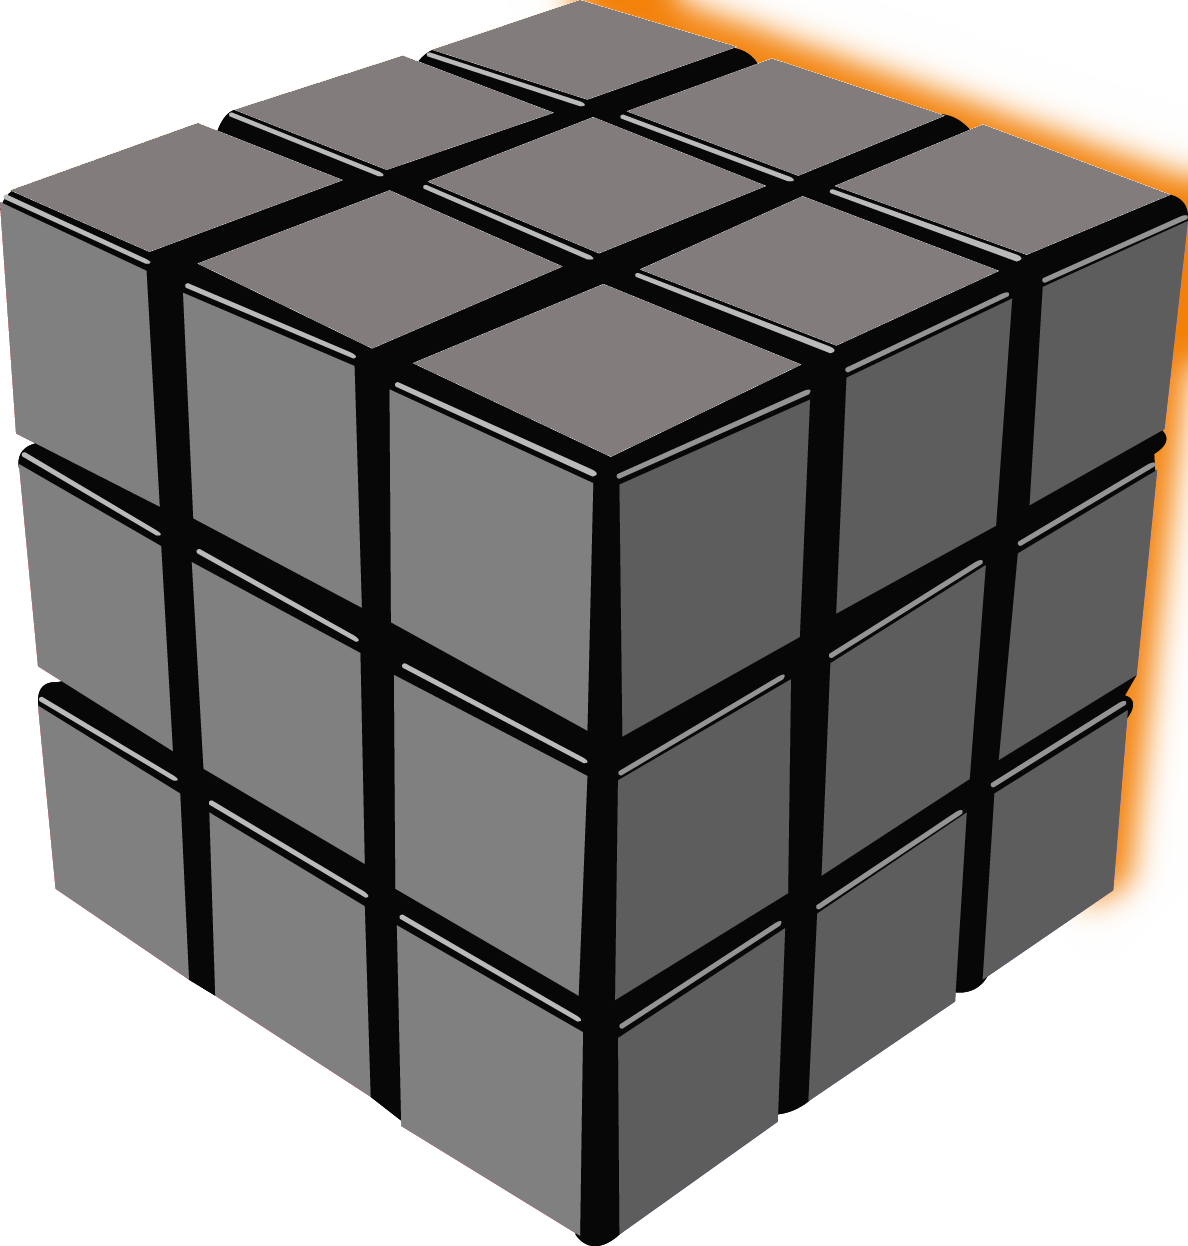
In some more complex algorithms, you'll see the letters X, Y, and Z, along with their counterclockwise versions X', Y', and Z'. These are used to denote rotation of the entire cube to view it from a different angle, instead of just one face.
X, X', and X2
To rotate the cube along the right face, either clockwise, counterclockwise, or twice, respectively.
Y, Y', and Y2
If you need to rotate the cube along the upper face either clockwise, counterclockwise, or twice, this is what you're probably looking at.
Z, Z', and Z
These are the ones used if you're in a hurry to have your cube rotated clockwise, counterclockwise, or twice along the back face.
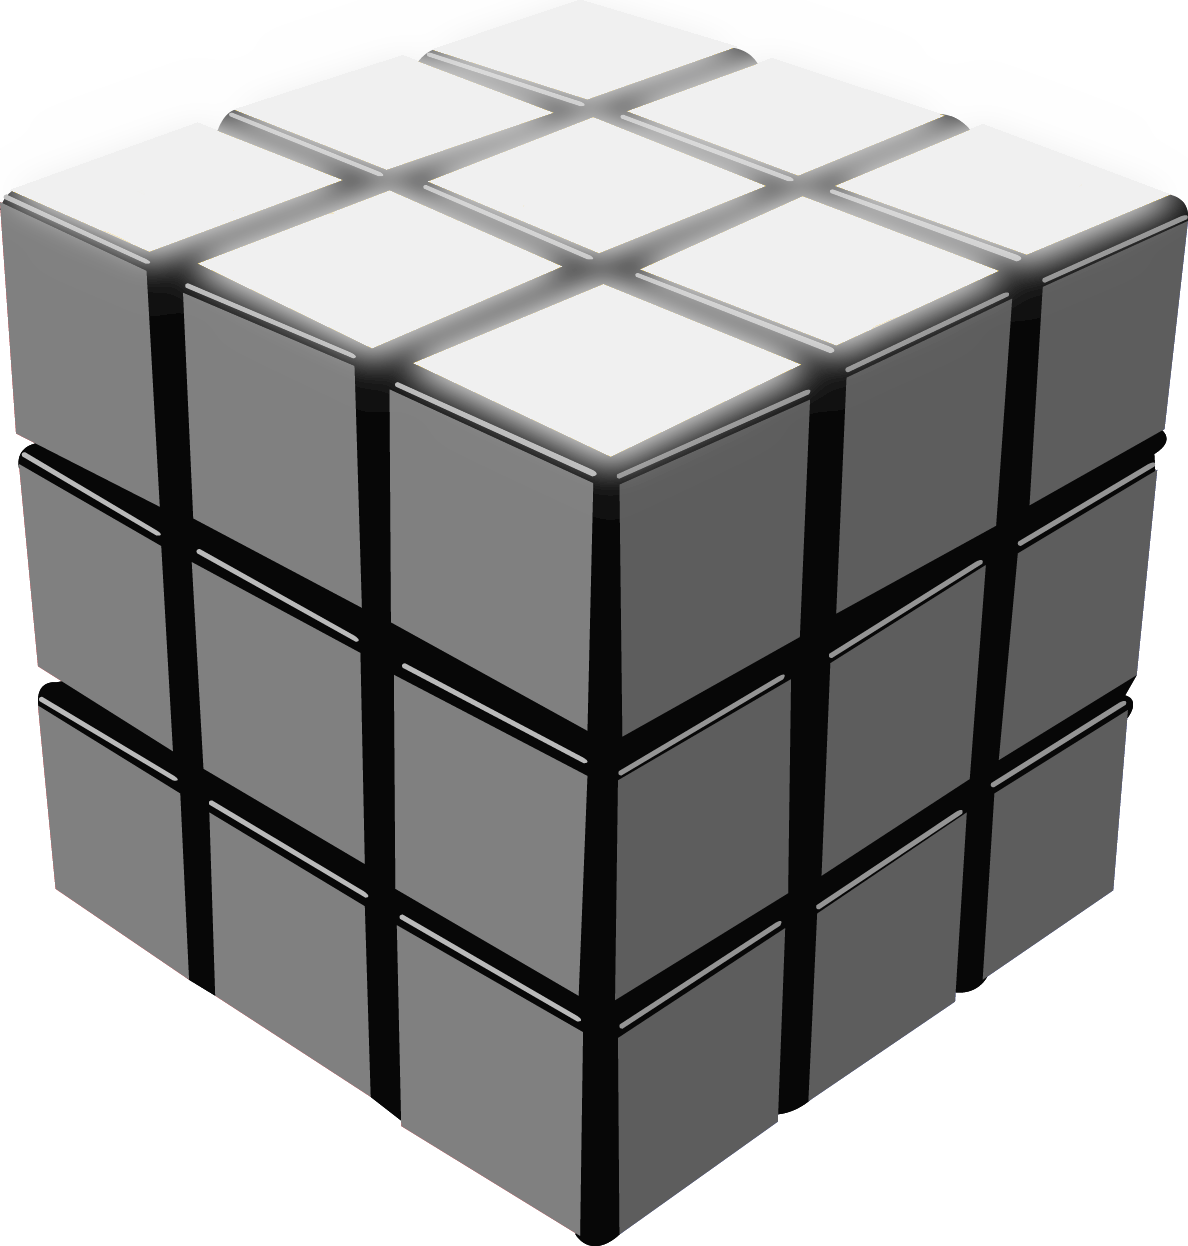
Behold, Stellar's Magic Flashing Cube. This details a cube beind held upside down. Perhaps the holder likes the white cross to be on top.
The White Cross
Before learning any direct algorithms, the first step to solving the cube is mostly intuitive. It’s important to remember that center pieces never move, and you’ve moving everything around them.
Start with the white center piece, and line up the four cardinal edge pieces with it. The white/orange, white/green, white/blue, and white/red pieces should bridge between the white center piece, and the center pieces of those colors on the sides of the cube.
It’s tricky to do and hard to explain at first, but after a bit of toying with how the pieces move, this step becomes easier with practice.
Hold the cube so that the white center is faced up.
Into
First Layer
When you have the white cross, it’s easy to complete the first layer. Line up the missing white corner pieces by color
(for example, put the white/red/blue piece on the underside of the cube, opposite of where it should be)
and repeat this simple algorithm:
(for example, put the white/red/blue piece on the underside of the cube, opposite of where it should be)
and repeat this simple algorithm:
R'D'RD
Until the corner piece is in place. Repeat this for all four corners.
Into
Second Layer
After you have the first layer done and lined up with the center pieces on the side, you’re ready for another easy algorithm.
Flip the cube upside down, so the white face is on the bottom. (x2/y2/z2)
Line up a colored piece above the center in a T-shape, and take note of what’s on the top face of that piece.
The direction of your next movements depend on if this piece is moving left or right, based on the top of that face.
IF YOU ARE MOVING TO THE RIGHT:
U R U’ R’ U’ F’ U F
IF YOU ARE MOVING TO THE LEFT:
U’ L’ U L U F U’ F’
If an incorrect edge is in place, you can use these algorithms to pull them out and replace them.
Make sure all four corners are in the correct place before moving on.
Here are some examples:
Make sure all four corners are in the correct place before moving on.
Here are some examples:
Into
Into
Algorithms

Congrats! You have learned the white cross. Here, our good friend the 2Look method has everything else figured out nicely. Here's the algorithms and diagrams for what to do, and when.
Note:The grids are the top view of the cube with the yellow face up.
Note:The grids are the top view of the cube with the yellow face up.
OLL
Orient Last Layer
-
F (R U R' U) F'
-
F (R U R' U')
(R U R' U') (R U R' U') F'
-
f (R U R' U') f'
-
[f (R U R' U f]
[F (R U R' U') F’]
-
F ( R U R' U') F']
[f (R U R' U') f']
-
R2 [D (RU2) R]
[D' (R U2) R']
-
(R U R' U) R U2 R'
-
(r U R' U') (r' F R F')
-
(L' U' L U') L' U2 L
-
F' (r U R' U') (r F R)
PLL
Permutation Last Layer
(RU'R)(URUR)(U'R'U'R2)
(R2U)(RUR'U')(R'U')(R'UR')
M2U M2U2 M2UM2
(R'U')(RU'R)(URU')(R'URU)(R2U')(R'U2)
x'R2D2(R'U'R)
D2(R'UR')
D2(R'UR')
(IU'R)D2
(R'UR)D2R2
(R'UR)D2R2
x'(RU'R'D)(RUR')u2'
(R'UR)D(R'U'R)
(R'UR)D(R'U'R)
(RUR'U')(R'F)(R2U'R'U')(RUR'F')
U'(R'URU'R'2b')
x(R'UR)y'
(RUR'U'R2)
x(R'UR)y'
(RUR'U'R2)
(R'UR'U')yx2
(R'UR'U'R2)xz')(R'U'RUR)
(R'UR'U'R2)xz')(R'U'RUR)
F(RU'R'U')(RUR'F')(RUR'U')(R'FRF')
(RUR'F')(RUR'U')(R'FR2U'R'U')
z(U'RD')
(R2UR'U'R2U)
z'(RU')
(R2UR'U'R2U)
z'(RU')
(R'U2)(RU'U')(R'FRUR'U')(R'F'R2U')
(RU'U')(R'U2)(RB'R'U')(RURBR2'U)
(R2'u'RU'R)(UR'u)(R2fR'f')
(RUR')y'(R2'u'RU')(R'UR'uR2)
(R2u)(R'UR'U')(Ru')(R2'F'UF)
(R'd'F)(R2u)(R'U)(RU'Ru'R2')
z('UR')z'
(RU2L'UR')z(UR')z'
(RU2L'UR')
(RU2L'UR')z(UR')z'
(RU2L'UR')
z(U'RD')
(R2UR'U')z'(RUR')
z(R2UR')z'(RU')
(R2UR'U')z'(RUR')
z(R2UR')z'(RU')